Regardless of the OS, streaming devices are now pushing more and more ads on their homepage. It’s especially bad for Fire TV, but it’s also very accurate for Android TV, whether you’re a Chromecast or a NVIDIA Shield user.
Read Also:
Why does my $200 device have chicken tender ads in the background on the main menu? (reddit)
Google TV is now serving full-screen, auto-playing Chicken Tender Wrap ads (androidauthority)
The beauty of Android TV is its ability to customize the experience, and that’s where Projectivy comes to the rescue with its launcher.
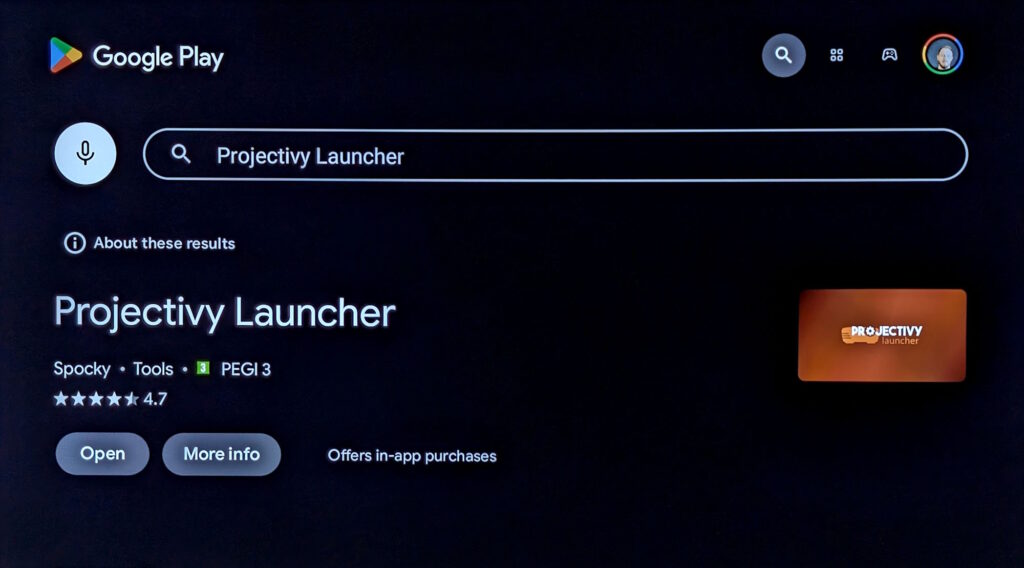
You can install it from the Play Store: search for “Projectivy Launcher”
Once installed, you can just “Open” the app to play around with it. If you decide it’s time to ditch the default launcher for Projectivy:
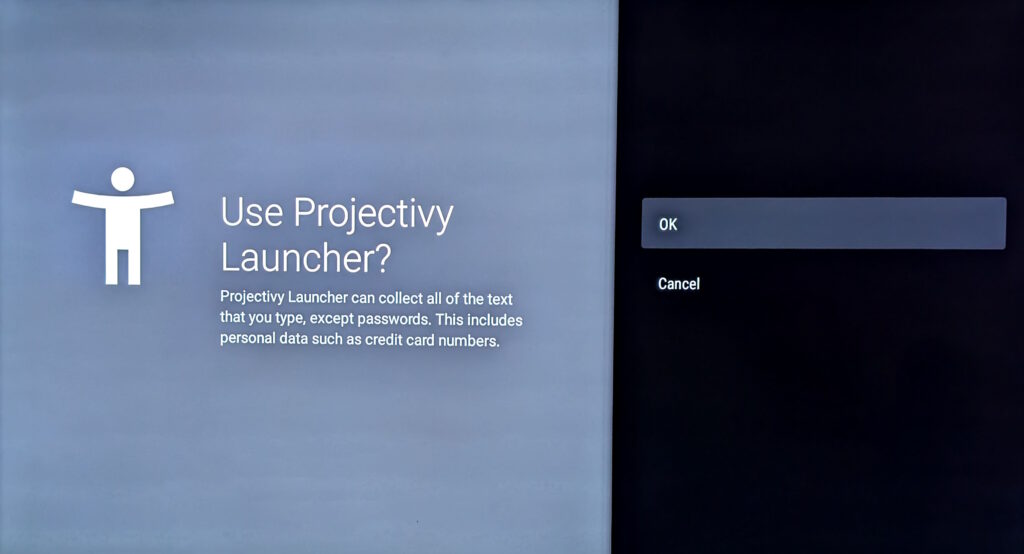
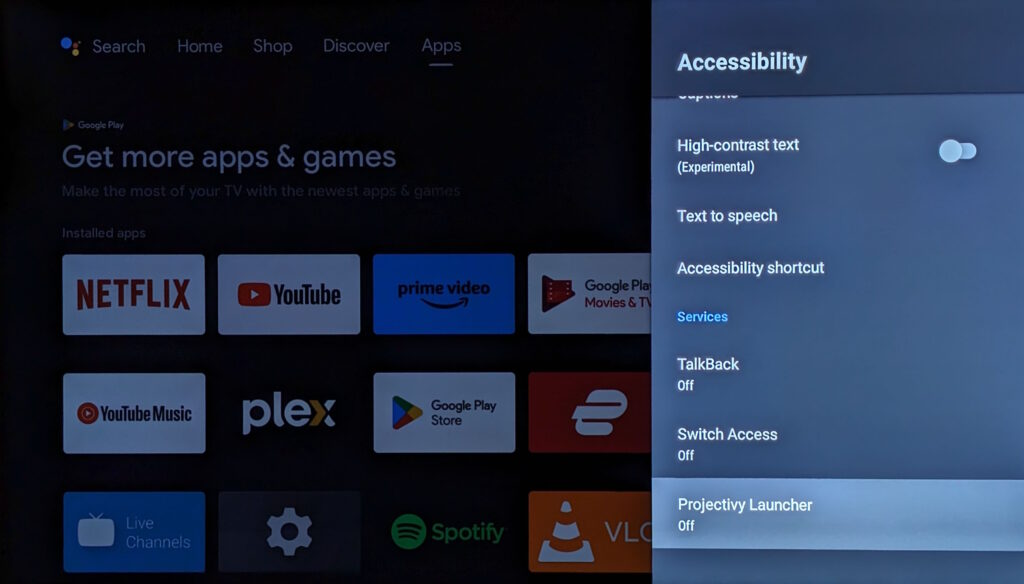
In your default Android interface settings, go to Device Preferences > Accessibility > Projectivy Launcher. Turn it on.
Then, in Projectivy go to the settings wheel at the top:
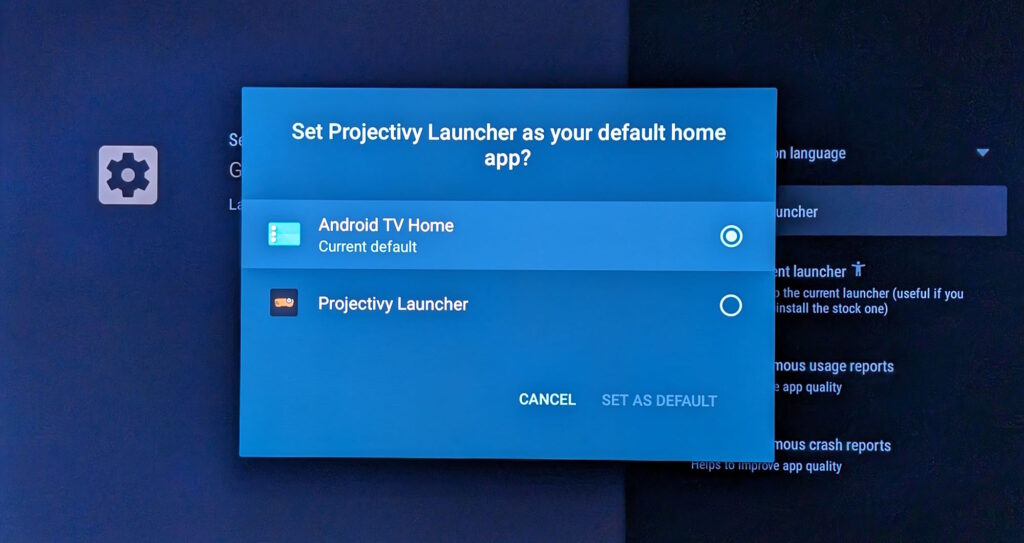
Projectivy launcher settings > General > change default launcher. Chose “Projectivy Launcher”
That’s it! No more ads. 🥳
You can customize your experience with Projectivy, from the background to the widgets and their position. To unlock the full customization options, you can go Premium for a $7 fee, which is not a bad deal, especially if you have more than one streaming device running Android TV at home.
I’m not 100% sold on the UI; it feels like a less premium experience than the vanilla. The settings menus are particularly messy. But on the Shield, it feels snappier than the default Shield Experience, which is, to me, a bigger issue than the not-so-intrusive ads.
On a side note, do they have to be so honest? It spooked me out! I don’t want to know that… do I? I guess it’s important.