Here’s how to take a screenshot in a few easy steps:
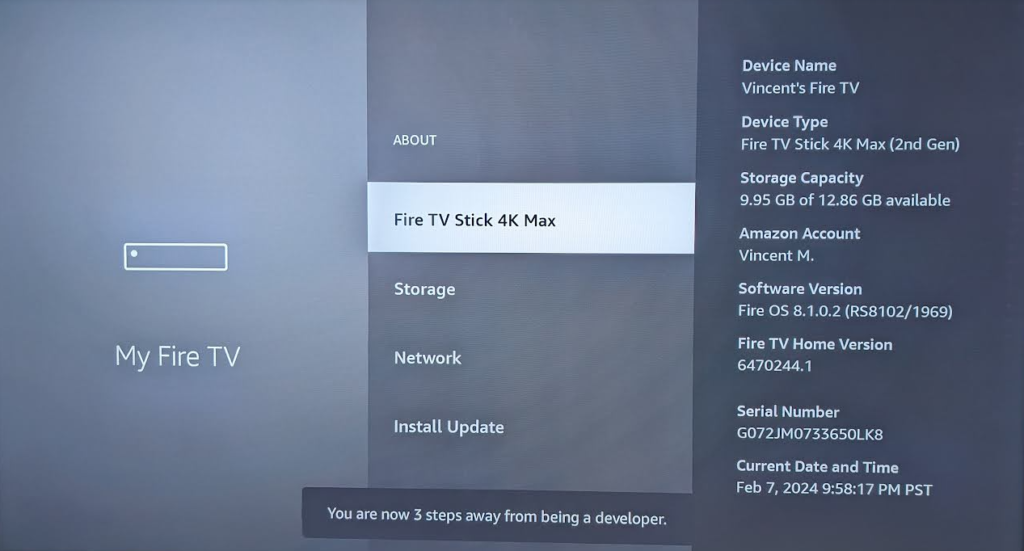
- Go to the settings menu and My Fire TV > About
- Activate the “Developer options” by clicking the OK button seven times on your remote while on the first item (ie. the name of your device)
- Turn on ADB
Read Also: New FireOS update blocks apps from using ADB (Reddit)
TL;DR: Amazon recently blocked ADB from 3rd party apps, but you can still use ADB locally
You can see an actual screenshot at the end of the article
Now on your computer, open a terminal.
- Mac: Open the Terminal app
- Windows: Install Fire TV drivers and an app for the terminal (Cigwyn or WSL)
Now you can connect using the following command:
adb connect {your device IP}and to take a screenshot:
adb shell screencap -p /sdcard/{filename}.pngFinally, you will want to transfer the file to your computer. The screenshot will be saved in the path you executed the command from. Add a folder name or path at the end of the command if you wish a different location.
adb pull /sdcard/{filename}.pngPro-tip: you can execute both commands at once with &&
adb shell screencap -p /sdcard/{filename}.png && adb pull /sdcard/{filename}.png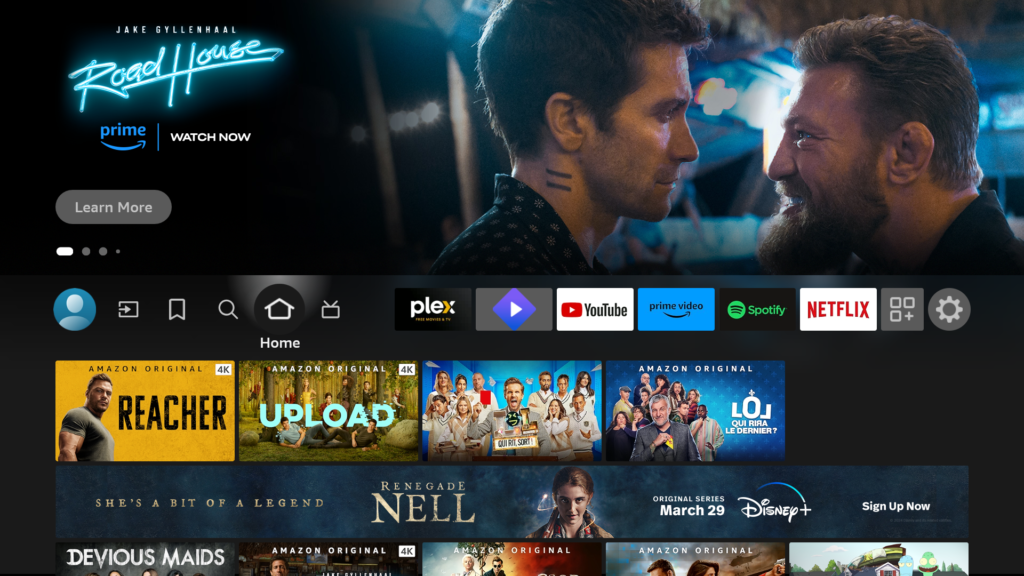
Read Also: https://developer.amazon.com/docs/fire-tv/connecting-adb-to-device.html